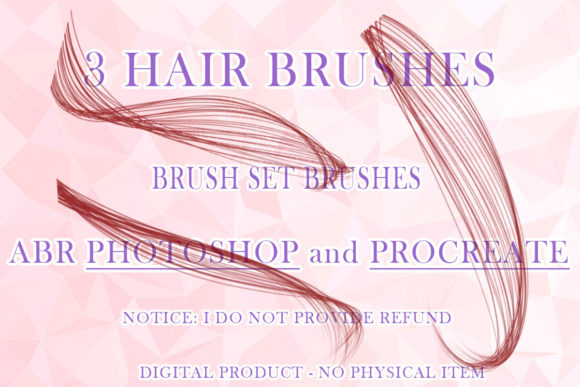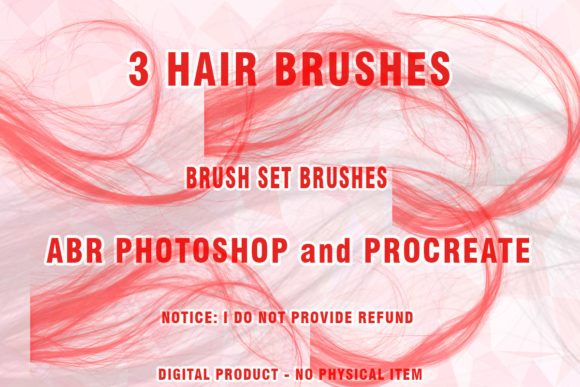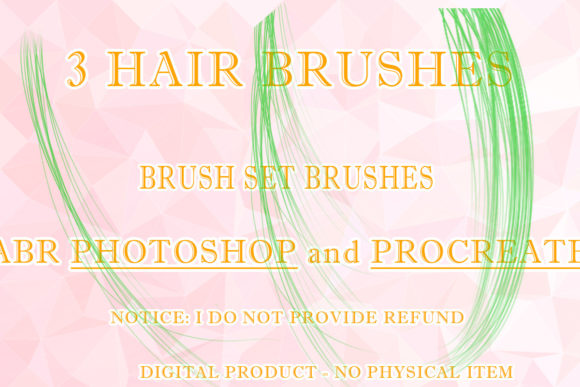
Hair Brushes for Procreate & Photoshop 7
Digital illustration has evolved from simple line art into complex, textured masterpieces that rival traditional media. Yet, one element consistently challenges even seasoned artists: hair. Rendering realistic strands, volume, and movement requires more than just technical skill; it demands the right tools. This is where specialized Hair Brushes Procreate and Photoshop 7 resources become indispensable. By integrating high-quality digital assets into your workflow, you transform a tedious process into an intuitive, creative experience.
The core of this toolkit lies in its versatility. Whether you are designing character concepts, editing portraits, or creating fashion illustrations, having access to pre-configured Abr brushes saves hours of manual rendering. These tools are not merely shortcuts; they are extensions of your artistic intent, allowing you to focus on composition and storytelling rather than getting lost in the minutiae of individual strand placement.
Understanding the Digital Hair Toolkit
When we discuss Digital hair creation, we are referring to a blend of painting techniques and asset utilization. The Hair ABR files included in this collection are designed to mimic the natural flow and texture of human hair. Unlike standard round brushes that require significant pressure control and layering to achieve depth, these specialized brushes come with built-in opacity jitter, spacing, and shape dynamics.
This Brush set includes seven distinct brush configurations for general use and three specific variations tailored for wigs and styled hair. The distinction is crucial. General hair brushes focus on organic, flowing locks, while the Wigs Photoshop Brushes are optimized for structured, voluminous styles often seen in fashion design or character customization. This duality ensures that whether you are painting a windswept beach scene or a high-fashion editorial look, you have the appropriate tool at hand.
It is important to note the technical specifications. This is a digital product; upon purchase, you download a compressed .ZIP file containing the .ABR brush files. These are native to Adobe Photoshop but have been optimized for compatibility with Procreate through conversion or similar stroke dynamics. While modern versions of Photoshop offer the best performance, users should be aware that this set may work partially on very old versions like CS3 or earlier, which are no longer supported by developers. For optimal results, using current software ensures full access to the brush engine’s capabilities.
Creative Applications for Designers and Artists
The utility of these brushes extends far beyond simple portrait retouching. For concept artists, speed is essential. Using Painted hair techniques with these presets allows for rapid iteration. You can block in the primary shapes of a character’s hairstyle, refine the silhouette, and add texture in minutes rather than hours. This efficiency is vital when presenting multiple design options to clients or directors.
Fashion illustrators also benefit significantly. In the fashion industry, hair is a key component of the overall aesthetic. The Wigs ABR Photoshop tools enable designers to experiment with bold colors, intricate braids, and voluminous updos without needing to photograph every variation. This flexibility encourages experimentation, allowing creators to push boundaries and develop unique visual identities for their brands or characters.
Moreover, these brushes are invaluable for photo manipulation. When compositing images, blending new hair elements into existing photographs can look artificial if not handled correctly. These digital brushes provide the necessary texture and transparency to blend seamlessly with photographic backgrounds. By adjusting the layer modes—such as Overlay, Soft Light, or Multiply—you can integrate Digital brush strokes that match the lighting and color temperature of the original image.
Adapting Techniques for Different Platforms
While the primary format is .ABR for Photoshop, the principles behind these brushes apply across platforms. Procreate users, for instance, can replicate these effects by adjusting brush settings to match the dynamics of the Photoshop originals. The goal is consistency. Whether you are working on an iPad or a desktop workstation, maintaining a cohesive style is key to professional output.
For marketers and content creators, these tools offer a way to produce high-quality visuals for social media without extensive training in digital painting. Creating engaging avatars, promotional graphics, or blog headers becomes more accessible when you have reliable assets. The learning curve is reduced, allowing non-artists to achieve polished results that enhance their brand’s visual appeal.
Educators and tutorial creators can also leverage these brushes to teach digital art fundamentals. By providing students with tools that handle the complex mechanics of hair rendering, instructors can focus on teaching anatomy, color theory, and composition. This approach democratizes digital art education, making it less intimidating for beginners who might otherwise be discouraged by the difficulty of painting realistic hair.
Best Practices for Organic Results
To maximize the potential of your Hair Brushes Procreate and Photoshop 7 kit, consider the following practical recommendations:
- Layer Management: Always paint hair on separate layers. This allows you to adjust opacity, blending modes, and color balance without affecting the underlying skin or background. Use clipping masks to keep your strokes contained within the head shape.
- Color Variation: Real hair is rarely a single flat color. Use multiple shades, including highlights and lowlights, to create depth. Sample colors from the reference image or use a complementary color palette to add vibrancy.
- Stroke Direction: Follow the natural growth pattern of hair. Start from the roots and flow outward. Vary the length and curvature of your strokes to avoid a repetitive, artificial look.
- Opacity Control: Do not rely solely on the brush’s default opacity. Manually adjust the pressure sensitivity or layer opacity to build up density gradually. This creates a more natural transition between thick and thin areas.
- Refinement: After using the brushes, go back with a standard soft round brush to smooth out any harsh edges or inconsistencies. This final step polishes the look and integrates the digital strokes with the rest of the artwork.
Ensuring Consistency and Originality
While presets provide a foundation, originality comes from how you manipulate them. Avoid using the brushes in a uniform manner. Rotate the canvas, change the brush size dynamically, and combine different brushes from the set. For instance, use a thicker brush for the base volume and a finer brush for stray hairs and flyaways. This combination adds realism and breaks the monotony of digital perfection.
Consistency is equally important, especially for series-based projects or brand identity. Establish a standard workflow for how you apply these brushes. Document your settings, layer structures, and color palettes. This documentation ensures that future projects maintain the same visual quality and style, reinforcing your professional reputation.
In conclusion, the Hair Brushes Procreate and Photoshop 7 collection is more than a set of files; it is a catalyst for creative expression. By understanding the technical nuances and applying strategic techniques, you can elevate your digital art, streamline your workflow, and produce compelling visuals that resonate with your audience. Whether you are a freelancer, entrepreneur, or hobbyist, these tools empower you to bring your imaginative concepts to life with clarity and impact.